Undertaking an interior gut-out project can be an overwhelming yet rewarding task. Whether you’re renovating a home, preparing a space for commercial use, or making room for a new design, careful planning is crucial. Here’s the ultimate checklist to ensure your project runs smoothly from start to finish. This comprehensive guide will not only help you avoid common pitfalls but also ensure that your project stays on track and within budget.
Table of Contents
ToggleDefine Your Goals and Budget
Before you even pick up a hammer, it’s crucial to establish clear goals and a realistic budget. Without a solid foundation, your project could quickly spiral out of control.
Set Clear Objectives
- Assess Your Needs: Why are you undertaking this gut-out? Are you expanding for more space, improving functionality, or increasing property value?
- Define the Scope: Is it a partial gut-out or a full-scale demolition? Clear boundaries will guide your planning.
- Visualize the End Result: Consider creating a mood board or consulting with an interior designer to solidify your vision.
Establish a Budget
- Break Down Costs: Include labor, materials, tools, and unexpected expenses. Tools like budgeting apps or spreadsheets can help you stay organized.
- Plan for Contingencies: Reserve 10-15% of your budget for surprises, such as hidden water damage or outdated wiring.
- Get Multiple Estimates: Compare quotes from contractors to ensure you’re getting a fair deal.
Obtain Necessary Permits
Skipping permits might seem like a way to save time and money, but it can lead to costly legal issues down the line. Permits ensure your project complies with local building codes and safety regulations.
Research Local Requirements
- Know What You Need: Common permits include demolition, electrical, plumbing, and structural changes.
- Visit Municipal Websites: Most cities provide detailed guidelines online for obtaining permits.
Secure Approvals
- Prepare Documentation: Gather blueprints, contractor details, and project timelines for submission.
- Account for Processing Time: Permit approvals can take weeks, so apply early to avoid delays.
- Display Permits On-Site: Once approved, post them visibly to avoid fines during inspections.
Assemble Your Team
A strong team of professionals is the backbone of any successful project. Hiring the right people ensures quality work and helps you avoid unnecessary setbacks.
Hire Professionals
- Contractors: Choose a general contractor if you need someone to oversee the entire project.
- Specialists: Depending on your needs, hire electricians, plumbers, architects, or designers.
Verify Credentials
- Check Licenses and Insurance: Verify that all professionals are licensed and carry liability insurance.
- Review Portfolios: Ask for examples of previous work to gauge their expertise.
- Contact References: Speak with past clients to understand their experiences.
Plan for Safety
Safety should never be an afterthought. Taking precautions can protect workers, residents, and your property.
Inspect the Property
- Identify Hazards: Common risks include asbestos, lead paint, and mold. Hire experts to test for these issues.
- Plan for Remediation: If hazardous materials are present, work with certified removal specialists.
Provide Safety Gear
- Equip Workers: Ensure everyone has gloves, goggles, masks, hard hats, and steel-toe boots.
- Invest in Equipment: Rent or purchase items like scaffolding and ventilation systems to maintain a safe environment.
Create a Safety Plan
- Emergency Protocols: Establish procedures for accidents and designate a first-aid responder.
- Site Organization: Mark hazardous areas and keep pathways clear of debris.
Prepare the Site
A well-prepared site is essential for an efficient demolition process. Taking the time to organize can save you headaches later.
Clear the Space
- Remove All Items: Take out furniture, appliances, and personal belongings. Consider renting a storage unit if needed.
- Document the Layout: Photograph the space to reference utility placements and structural details later.
Shut Off Utilities
- Disconnect Services: Turn off electricity, gas, and water. Label lines and pipes to avoid confusion.
- Coordinate with Providers: Notify utility companies about the project timeline.
Protect Surrounding Areas
- Seal Non-Demolition Zones: Use heavy-duty plastic sheeting to contain dust and debris.
- Use Floor Protectors: Lay down cardboard or protective mats in high-traffic areas.
Execute the Demolition
Now comes the exciting part: tearing down walls. However, it’s crucial to approach demolition with strategy and precision.
Follow a Sequence
- Start Small: Begin with non-structural elements like trim, cabinets, and fixtures.
- Structural Demolition: Move on to walls, floors, and ceilings once the space is cleared.
Dispose of Debris Properly
- Rent a Dumpster: Choose a size appropriate for your project’s volume of waste.
- Recycle Materials: Salvage wood, metal, and fixtures that can be reused or donated.
Monitor Progress
- Stay on Schedule: Hold daily check-ins with your team to review completed tasks.
- Address Issues Immediately: Deal with unexpected problems promptly to avoid compounding delays.

Address Structural Concerns
Once the space is gutted, it’s critical to evaluate the structural integrity of the building.
Inspect for Damage
- Foundation: Check for cracks or uneven surfaces.
- Beams and Joists: Look for signs of rot, sagging, or pest damage.
Repair as Needed
- Consult Structural Engineers: Get expert input for complex issues.
- Reinforce Weak Points: Use modern materials to strengthen compromised areas.
Prepare for the Next Phase
With demolition complete, shift focus to setting up for construction or renovation.
Conduct a Post-Demo Inspection
- Clean the Site: Remove lingering debris and deep-clean the space.
- Verify Readiness: Double-check that all demolition goals were met.
Finalize Design Plans
- Confirm Details: Lock in layouts, materials, and project timelines.
- Coordinate with Vendors: Ensure timely delivery of supplies.
Order Materials
- Avoid Shortages: Order 10% extra material to account for mistakes or miscalculations.
Maintain Communication
Good communication is the glue that holds a project together. Keep everyone informed to ensure smooth operations.
Hold Regular Meetings
- Set a Schedule: Weekly or bi-weekly meetings help keep everyone aligned.
- Review Milestones: Discuss progress and upcoming tasks.
Document Changes
- Track Adjustments: Log any deviations from the original plan.
- Share Updates: Distribute meeting notes and revised schedules to all stakeholders.
Celebrate Milestones
Renovation projects can be stressful, so it’s important to recognize achievements along the way.
Acknowledge Achievements
- Celebrate Small Wins: Whether it’s completing demolition or finishing inspections, take time to appreciate progress.
Plan the Next Steps
- Transition Smoothly: Use detailed timelines to move seamlessly into construction or design phases.
Conclusion
A successful interior gut-out project requires meticulous planning, skilled execution, and consistent communication to bring your vision to life. By following this ultimate checklist, you can ensure a smooth process, whether you’re tackling a residential makeover or a commercial transformation. Start by defining your vision and goals, outlining your design preferences, functionality needs, and project scope. Creating mood boards or gathering inspiration can help communicate your ideas effectively. Next, set a realistic budget by researching costs for demolition, materials, labor, and unforeseen expenses, while also allocating a contingency fund for unexpected challenges.
Hiring reputable professionals, such as contractors, designers, and structural engineers, is essential; make sure to verify their credentials, reviews, and portfolios to ensure they have the expertise required. Work closely with your contractor to obtain all necessary permits and comply with local building codes. When planning the demolition, coordinate a detailed schedule that includes safety protocols and proper waste disposal arrangements. Order high-quality materials early to avoid delays, prioritizing durability and aesthetic appeal.
As the project progresses, monitor it closely by scheduling regular check-ins with your team to address issues and stay on track. Finally, focus on the finishing touches, such as lighting, fixtures, and furnishings, to complete the transformation. With careful planning and execution, you can navigate your gut-out project confidently and efficiently.
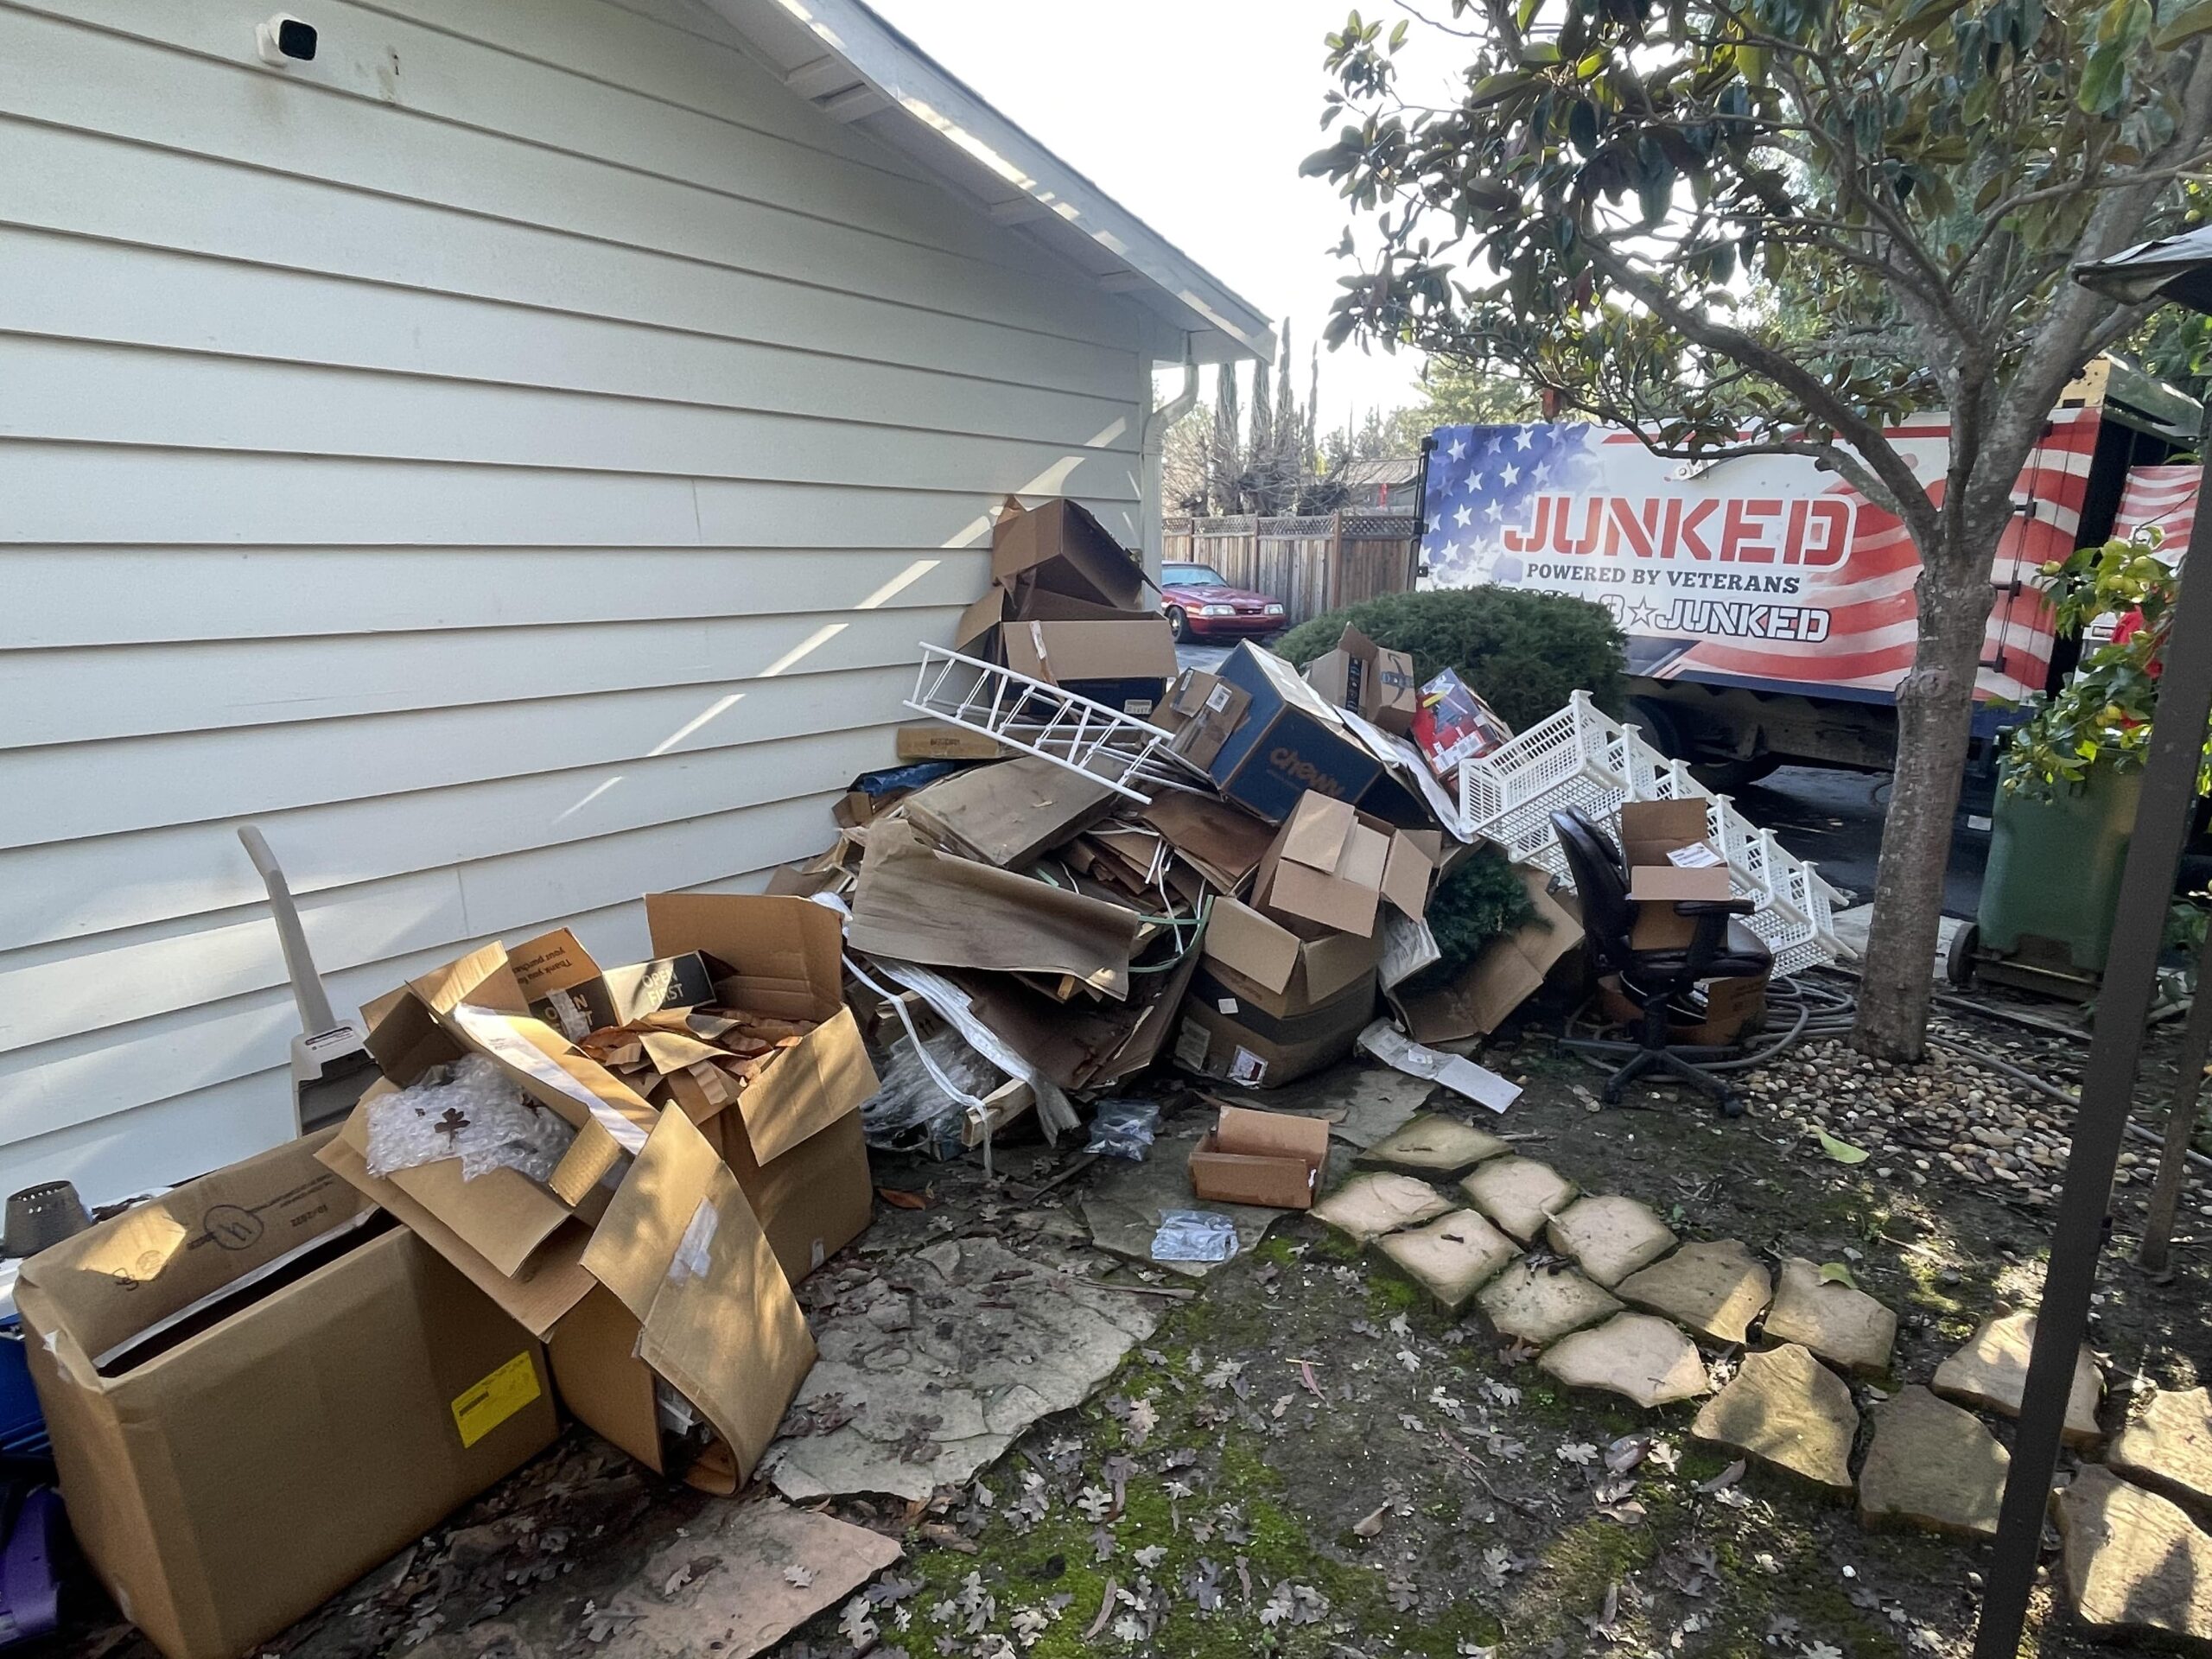
Transform Your Property: Veteran-Powered Interior Gut-Outs for a Fresh Start
Is your property ready for a transformation? At Junked: Powered by Veterans™, we specialize in interior gut-outs, serving the Bay Area with precision and care. Whether you’re a homeowner, property manager, or real estate agent, our veteran-powered team is here to help you prepare your property for its next chapter. From removing outdated fixtures to clearing interiors down to the studs, we handle each project with professionalism, ensuring your space is ready for renovations or resale.
Choosing Junked means choosing a proactive and eco-friendly approach to property transformation. We responsibly recycle and repurpose materials, reducing waste and supporting a greener planet. By partnering with us, you’re not only clearing out old spaces but also empowering local veterans who bring unmatched dedication to every job. Let us help you unlock your property’s full potential. Schedule your free, no-obligation estimate today and experience the difference with Junked: Powered by Veterans™!
Disclaimer
The materials available on this website are for informational and entertainment purposes only and not to provide legal or professional advice. You should contact your attorney or home improvement specialist to obtain advice concerning any particular issue or problem. You should not act or refrain from acting based on any content included in this site without seeking legal or other professional advice. The information presented on this website may not reflect the most current home improvement developments. No action should be taken in reliance on the information on this website. We disclaim all liability concerning actions taken or not taken based on any or all of the contents of this site to the fullest extent permitted by law.