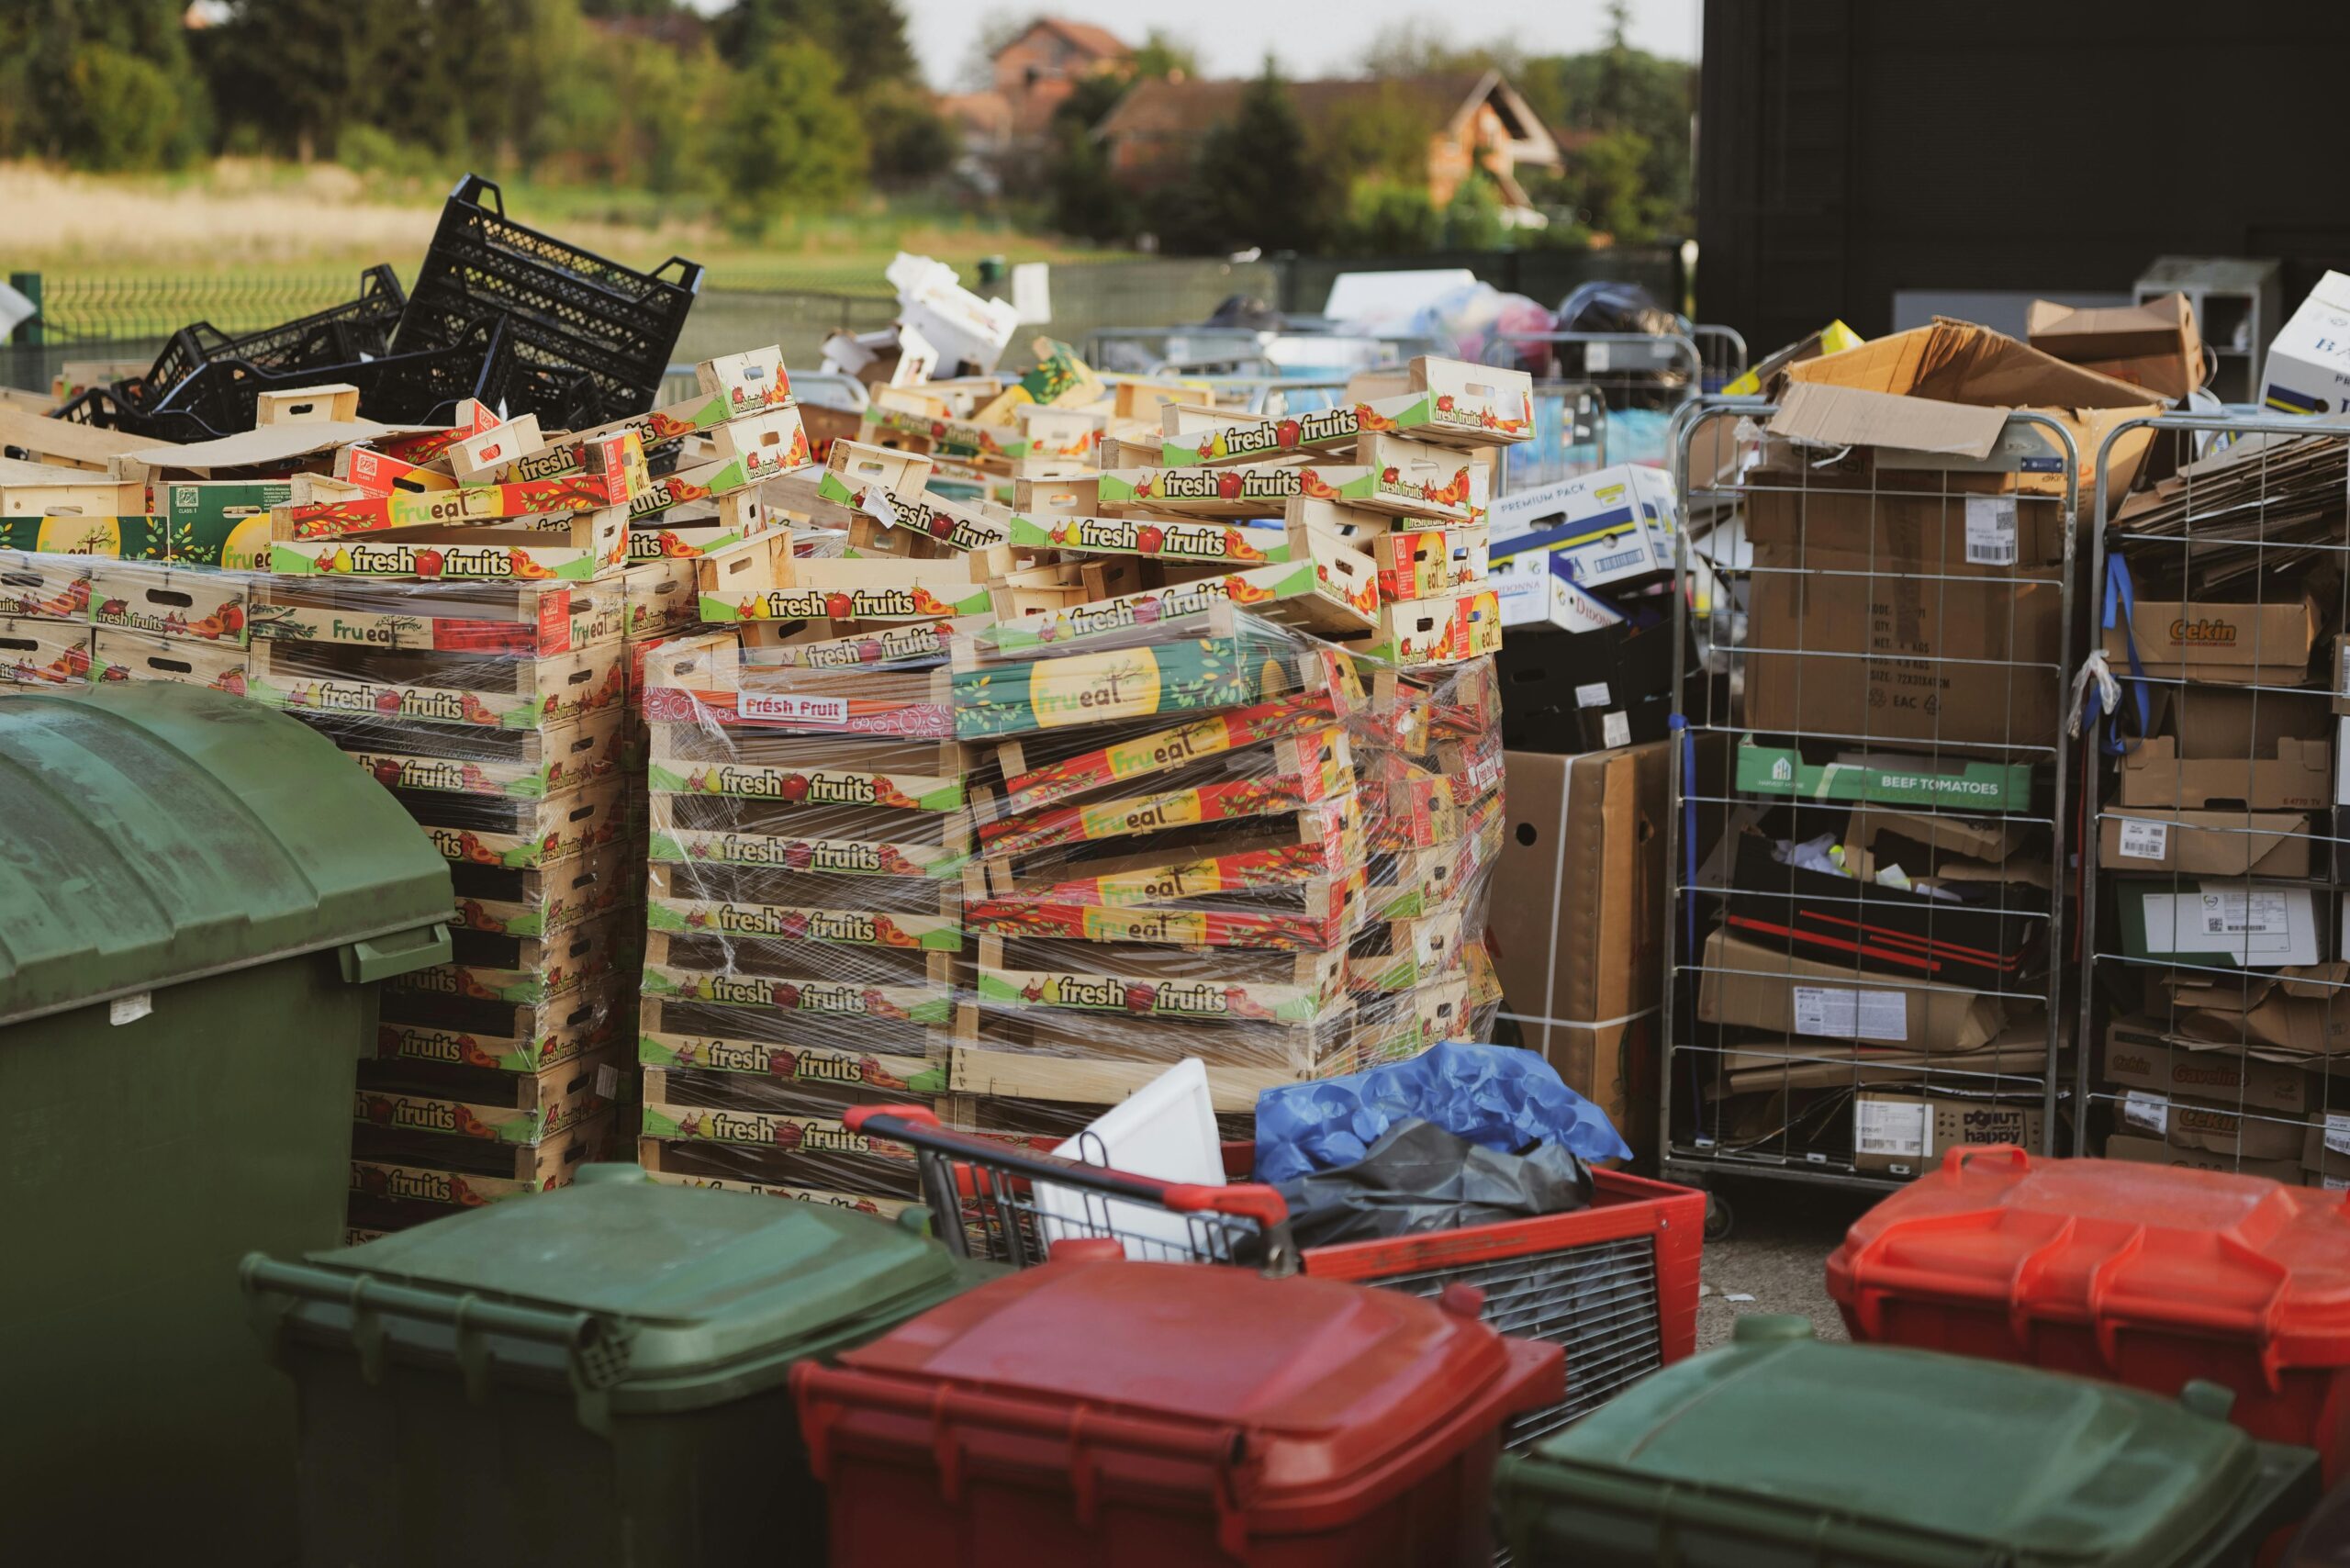
When a tenant moves out, the rental property may need anything from a light cleaning to a complete cleanout. Some homes are left empty and tidy. Others contain furniture, bags of household waste, unwanted appliances, food, personal belongings, and damage that becomes visible only after the rooms are cleared.
The best approach is to work in a deliberate order: confirm that you can lawfully take possession, document the condition, identify what can be removed, arrange appropriate disposal, clear the property, complete repairs, and finish with a thorough cleaning. This sequence helps prevent unnecessary work and gives you a clearer picture of what the next tenancy requires.
A rental property cleanout is also different from ordinary housekeeping. You are managing the transition between occupants, protecting the property’s surfaces and fixtures, organizing records, and checking whether the home is ready for someone else to live in. An empty room can still contain hidden dirt, unresolved leaks, lingering odors, or maintenance problems.
Whether you own one rental home or manage multiple units, a consistent process makes the work easier to schedule and evaluate. This guide explains how to clean out a rental property after a tenant moves out, what to inspect, how to organize removal, and when to bring in professional help.
Table of Contents
ToggleKey Takeaways
- Confirm that possession has lawfully returned to you before beginning a turnover cleanout.
- Photograph the property before moving belongings, cleaning surfaces, or making repairs.
- Separate tenant belongings from confirmed waste and property-owned items.
- Check applicable rules before disposing of personal property left behind.
- Plan separate destinations for ordinary trash, reusable items, recyclables, and materials requiring special handling.
- Remove bulky items and loose debris before detailed cleaning.
- Coordinate repairs before the final cleaning so completed rooms stay clean.
- Investigate odors, moisture, and pest activity instead of covering them up.
- Keep invoices, photographs, and task records, and assess tenant charges separately under applicable rules.
- Complete a final walkthrough before advertising the property as ready for occupancy.

Start By Confirming Possession And Documenting The Property
Confirm The Move-Out Status
Before sending a crew inside, establish that the tenancy has ended and you can lawfully take possession. A largely empty home, unanswered messages, or a few belongings left behind should not be treated as sufficient proof on their own. If possession is uncertain, resolve that issue before starting removal or changing access arrangements.
For a routine move-out, organize the surrender confirmation, returned keys, forwarding information, lease documents, and any inspection records. These details help you distinguish a completed move-out from an unresolved situation and provide a starting point for the turnover file.
Give every contractor a clear authorization covering the areas they may enter and the work they may perform. If the building includes shared storage or occupied units, identify boundaries so a cleanout crew does not remove another resident’s belongings.
Photograph Every Room Before Work Begins
Take wide photographs of each room, followed by close-ups of notable conditions. Record floors, walls, doors, countertops, appliances, bathroom fixtures, windows, closets, and outdoor areas. Photograph furniture or boxes left behind in their original locations.
Use written notes alongside photographs. A picture may show a stained cabinet floor, but a note can explain that the surface was damp, the faucet leaked, or a musty odor was present. Keep observations factual and avoid guessing about causes before inspection.
Repeat photographs after removal and after the finished turnover. The three stages establish what was present initially, what became visible once the space was cleared, and how the property looked when the work was complete.
Compare The Condition With Existing Records
Review the move-in checklist and earlier photographs when available. This comparison helps distinguish a new issue from a condition that already existed. It also helps you decide whether something needs cleaning, repair, replacement, or further evaluation.
Keep your operational work list separate from decisions about tenant responsibility. A carpet may need replacement to prepare the home for another occupant, but that does not automatically make its full replacement cost chargeable to the departing tenant.
Decide What Can Be Removed And What Must Be Set Aside
Handle Left-Behind Belongings Separately
Furniture, clothing, tools, electronics, documents, and boxed possessions are not automatically disposable simply because the tenant has moved out. Rules governing abandoned property depend on the jurisdiction and circumstances. Notice, storage, retrieval, and disposal procedures may apply. Official court guidance illustrates that landlords may need to inventory and store belongings and follow notice procedures before disposal. Check the rules that apply to the property rather than assuming one universal deadline. utcourts.gov
Create an inventory of retained belongings, using brief descriptions and photographs. Label containers by room or category, and keep them separate from confirmed trash. Avoid unnecessarily opening or circulating private documents while recording what was left behind.
Tell the removal crew exactly which items are approved for removal. Written instructions such as “remove the marked broken shelving; retain the sealed boxes” are more useful than a general direction to clear everything.
Establish Sorting Categories
Once removal is authorized, sort materials into practical groups: property-owned items to retain, belongings requiring separate handling, donation candidates, recyclable materials, ordinary waste, and items needing specialized disposal.
Use signs, labels, or designated areas so workers can identify each category. Keep walkways and exits clear rather than turning a hallway into temporary storage. If there is little space, organize removal in stages instead of building a large pile inside.
Do not assume everything reusable will be accepted for donation. Confirm the receiving organization’s current standards, especially for mattresses, upholstered furniture, large appliances, and items with visible damage. A rejected donation still needs an approved disposal destination.
Identify Special Disposal Items Early
Leftover paint, pesticides, automotive fluids, certain cleaning products, and batteries may need special handling. The Environmental Protection Agency advises following product labels and consulting local waste agencies about disposal options. Do not mix leftover chemicals or pour them into drains, onto the ground, or into storm sewers. Keep readable labels and original containers where safe to do so. US EPA
Ask the disposal provider about electronics, refrigerant-containing appliances, mattresses, and other restricted items before loading them. Acceptance rules and fees can differ between destinations. A little preparation prevents a truckload from being turned away after the work is already underway.
Build A Practical Cleanout Plan
Estimate The Volume And Difficulty
Walk through the entire property, including closets, cabinets, garages, storage rooms, balconies, and yard areas. List large items individually and estimate the number of bags or boxes. Describe access conditions as carefully as the contents.
A ground-floor apartment with a clear driveway is a different job from an upstairs unit reached through narrow stairs. Heavy furniture, long carrying distances, limited parking, and multiple disposal destinations can affect the effort required.
Share photographs and an accurate item list when requesting a quote. Identify anything that needs disassembly or special handling, and explain whether the job includes removal only or additional cleaning. This helps everyone work from the same scope.
Arrange Access And Supplies
Confirm keys, working lights, water availability, and appropriate electrical access. Identify the loading area and protect finished surfaces along the route. Coordinate building access and service-elevator reservations when relevant.
For a modest cleanout, useful supplies include sturdy bags, labeled containers, suitable gloves, eye protection where needed, cleaning cloths, a vacuum, a mop, and surface-appropriate products. Moving equipment should match the weight and shape of the items being handled.
Avoid filling bags so heavily that they become difficult to lift or likely to tear. Put breakable or sharp material in an appropriate rigid container rather than hiding it in loose household waste. An organized work area makes removal easier and reduces accidental damage.
Assign Work In The Right Sequence
Schedule the turnover around dependencies. Belongings and debris usually need to leave before detailed inspection. Repairs and painting generally belong before final floor cleaning. Appliances may need to be moved for service before their surrounding areas can receive a finishing clean.
Create a simple task list with an owner and completion status for each item. If multiple providers are involved, identify who will remove repair debris and who will perform the final cleanup. These small details prevent unfinished work from falling between teams.
Remove Furniture And Debris Before Deep Cleaning
Clear Bulky Items Carefully
Start with approved large items that block access or make rooms difficult to inspect. Measure doorways and check the removal path before attempting to carry a sofa, dresser, or appliance outside. Disassemble furniture when appropriate rather than forcing it through a narrow opening.
Protect corners, doorframes, stairs, and floors. Use enough people and suitable equipment for the load. Heavy or awkward items are a good reason to hire a removal crew rather than trying to complete the entire job alone.
Do not disconnect gas appliances, alter electrical connections, or remove built-in fixtures without appropriate expertise. A cleanout should not create a new maintenance problem or turn an ordinary removal task into hazardous work.
Work Through Smaller Items By Area
After bulky removal, clear one room or zone at a time. Empty approved cabinet contents, collect loose waste, and check shelves and drawers. Keep a small inspection checklist so you do not miss spaces that are easy to overlook.
Look behind doors, beneath beds, above kitchen cabinets, inside appliance compartments, and in outdoor storage. Forgotten food or a small trash bag can leave a persistent odor even when the main rooms look empty.
Once a room is cleared, give it a preliminary sweep or vacuum if conditions are suitable. This first pass reveals stains, damage, and repair needs; the detailed cleaning comes later.
Inspect The Empty Property And Complete Needed Repairs
Look For Problems Hidden By Clutter
Furniture can conceal damaged flooring, wall marks, blocked vents, loose trim, and moisture staining. Inspect these areas after removal rather than relying only on the first walkthrough.
Check under sinks, around toilets, near laundry connections, along window sills, and behind appliances where access is safe. Record leaks, soft surfaces, unusual staining, and signs of pests. Separate cosmetic work from problems requiring further investigation.
If a condition cannot be evaluated confidently, obtain an appropriate inspection before covering it. Repainting a stained area without understanding why it appeared may leave the underlying problem unresolved.
Coordinate Repairs Before The Final Cleaning
Organize repairs such as replacing damaged hardware, fixing cabinet hinges, addressing plumbing problems, repairing walls, and touching up paint. Protect surfaces and retained appliances while this work takes place.
Allow products and finishes to dry or cure according to their instructions. Schedule carpet cleaning or final mopping after dusty work and heavy traffic are complete. Otherwise, workers may soil surfaces you have just finished cleaning.
Recheck repaired areas before closing the task. For example, observe a repaired sink connection while water runs and inspect beneath it afterward. A completed invoice confirms that work was performed; a walkthrough helps confirm the result.
Deep Clean The Kitchen
Clean Cabinets And Countertops
Empty cabinets and drawers before cleaning their interiors. Remove crumbs, loose shelf liners, and residue, using products appropriate for the material. Clean handles, cabinet fronts, hinges where accessible, and the edges around frequently used drawers.
Inspect cabinet bottoms for damage or moisture before reinstalling liners. Avoid saturating wood or particleboard. Let surfaces dry completely before closing cabinets or placing property-owned supplies inside.
Clean countertops and backsplashes with attention to joints, corners, and the area around the sink. Use a product compatible with the surface; a cleaner suitable for one countertop material may damage another.
Clean Appliances Inside And Outside
Remove food from the refrigerator and freezer, then clean removable shelves, bins, door seals, and accessible interiors according to the appliance instructions. Address spills beneath drawers and wipe exterior handles and edges.
Clean the oven, stovetop, microwave, and accessible range-hood surfaces. Follow the manufacturer’s directions for removable parts and oven-cleaning methods. Do not assume a self-cleaning cycle is appropriate for every appliance or condition.
Inspect the dishwasher filter if it is designed for user access, remove visible food debris, and clean the door edges. Where appliances can be moved safely, clean the surrounding floor and wall. Leave connection work to someone qualified for the task.
Check Function As Well As Appearance
A spotless appliance may still have a broken seal, damaged shelf, loose handle, or operational problem. Record these issues independently of the cleaning checklist.
Run appropriate basic checks without leaving equipment unattended or operating a visibly damaged appliance. Address unusual leaks, electrical concerns, or gas-related issues before treating the kitchen as ready for use.
Clean Bathrooms Thoroughly
Remove Residue From Fixtures And Surfaces
Clean the toilet, including the bowl, seat, hinges, exterior, base, and surrounding floor. Use separate cloths and tools for toilet cleaning rather than reusing them on counters or kitchen surfaces.
Clean sinks, faucets, mirrors, counters, tubs, showers, and accessible shelving. Give attention to soap residue, mineral deposits, corners, shower tracks, and the edges around fixtures. Choose cleaning products suited to the finish.
Follow label instructions when using disinfectants. Clean visible dirt first, provide ventilation, and allow the specified contact time. The CDC warns against mixing bleach or disinfectants with other cleaning products because dangerous vapors can result. CDC
Check Moisture And Ventilation Issues
Inspect the vanity base, nearby flooring, tub edges, and ceiling for staining or deterioration. A recurring damp area deserves investigation rather than repeated surface cleaning.
Clean accessible ventilation grilles as directed for the equipment and check that the fan operates. Arrange service if it does not function properly. Do not apply new caulk over a dirty or damp joint merely to improve its appearance.
Clean Living Areas, Bedrooms, And Floors
Work From Higher Surfaces Downward
Remove dust from accessible shelves, trim, doorframes, and light fixtures before cleaning lower surfaces. Use safe access equipment and avoid reaching beyond a stable position.
Clean doors, handles, switches, baseboards, window sills, and closet shelves. Test cleaners on a small inconspicuous area when surface compatibility is uncertain. Avoid spraying liquid directly into electrical components.
Clean accessible window glass and tracks, then inspect screens and operating hardware. A finished room should have clean surfaces and a clear record of anything still needing repair.
Match Floor Cleaning To The Material
Vacuum carpets thoroughly before assessing stains and odors. Consider professional cleaning when ordinary vacuuming will not address the condition, and ask whether the method is suitable for the carpet and backing.
For hard flooring, remove grit before damp cleaning. Follow the flooring manufacturer’s care instructions, especially for wood and laminate. Excess water, aggressive scrubbing, and unsuitable products can damage surfaces during an otherwise routine turnover.
Allow cleaned floors and carpets to dry before covering them, replacing furniture, or completing the final inspection. Evaluate their condition after drying, when lingering stains or odors are easier to assess fairly.
Address Odors, Mold, And Pest Activity At The Source
Investigate Persistent Odors
Remove waste and spoiled food first, then identify whether the smell is connected to a particular room, appliance, cabinet, carpet, or damp area. Avoid relying on fragrance to make the property seem finished.
If an odor remains after ordinary cleaning, consider specialist evaluation. A surface treatment may not reach contamination in carpet padding, cabinetry, or other concealed materials. Document the area and the steps already attempted so the next provider can investigate efficiently.
Treat Mold And Contamination As Separate Work
Mold cleanup requires attention to the moisture source. EPA guidance emphasizes correcting water problems and drying affected materials; painting over mold is not a solution. Extensive water damage, suspected HVAC contamination, or sewage-related contamination warrants further guidance or professional help. US EPA
Keep ordinary cleaning crews informed about suspect areas before work begins. Do not ask a general hauling team to disturb unidentified contamination or handle specialized cleanup simply because it is already on site.
Resolve Pest Problems Before Handover
Look for signs of pest activity during the inspection and record the location. Arrange appropriate evaluation and treatment when needed, and coordinate the order of cleaning with the pest professional.
Removal of food waste and clutter can support the work, but it does not prove that an infestation is resolved. Follow the professional’s instructions for re-entry, follow-up visits, and any preparation required before treatment.
Include Garages, Patios, And Outdoor Areas
Check Every Space Included With The Rental
Inspect garages, balconies, patios, yards, sheds, and assigned storage areas. Remove approved furniture, loose debris, and waste without disturbing property belonging to another unit or shared building equipment.
Check drainage openings, exterior steps, railings, and lighting as part of the maintenance walkthrough. Keep furniture and equipment away from access routes while waiting for removal.
Outdoor areas also deserve photographs and completion records. A clean interior does not make the turnover complete if the garage remains full or the patio cannot be used.
Decide Whether To Hire A Professional Cleanout Service
Match The Provider To The Work
A removal service, cleaning company, repair contractor, and remediation specialist perform different roles. Ask each provider what is included rather than assuming one booking covers the entire turnover.
Professional removal is particularly useful for multiple bulky items, difficult access, or a large volume of approved waste. Professional cleaners can handle detailed surface cleaning after removal. Specialized hazards require providers equipped for those conditions.
Ask about insurance, item exclusions, disposal destinations, access requirements, and whether the quote includes labor, transport, and disposal charges. Confirm how unexpected items or additional work will be approved.
Compare Complete Scopes
Review quotes against the same item list and access description. A lower price may reflect a narrower service, such as removing furniture without bagging loose debris or sweeping afterward.
Define the completion standard in writing. State which rooms must be cleared, which items must remain, and whether donation drop-offs or separate disposal trips are included. Accurate scope is more useful than a vague promise to leave the property ready.
Keep Costs And Tenant Charges Separate
Record Actual Turnover Expenses
Track removal, cleaning, repair, replacement, and specialist work separately. Retain itemized invoices, photographs, disposal receipts where available, and notes about the work performed.
Record owner labor with dates, tasks, and time spent if relevant to your accounting and local requirements. Avoid combining unrelated work into one unexplained charge. Clear records help with budgeting even when no tenant charge is appropriate.
Review Applicable Deposit Rules
The cost of preparing a rental for another occupant is not automatically deductible from the previous tenant’s deposit. Permissible deductions, documentation, deadlines, and treatment of ordinary wear depend on applicable law. For example, California court guidance limits cleaning deductions to restoring move-in cleanliness and excludes normal wear from damage deductions. Check current rules for the property’s jurisdiction before assessing charges. Self …
Evaluate each expense individually, considering the initial condition, item age, and reason for the work. Complete required communications and accounting on time even if some turnover work is still being organized.
Complete A Final Walkthrough
Inspect The Property As The Next Occupant Would
Walk through the home after cleaning has finished and surfaces have dried. Open cabinets and closets, examine appliance interiors, check corners, and look beneath sinks. Pay attention to areas that were blocked during the first inspection.
Check completed repairs, door and window operation, and the property’s safety equipment according to applicable requirements and manufacturer instructions. Arrange appropriate follow-up for anything uncertain.
Confirm that tools, leftover materials, cleaning supplies, and waste have been removed or appropriately stored. Take final photographs and resolve remaining tasks before describing the property as ready for occupancy.
Prepare A Useful Turnover Record
Keep the finished checklist with invoices, inspection notes, and photographs. This record becomes a baseline for the next move-in and helps you improve future turnovers.
Note recurring problems, such as hard-to-clean finishes, damaged storage hardware, or repeated appliance issues. These observations can guide maintenance choices without expanding every cleanout into an unnecessary renovation.
Conclusion
Cleaning out a rental property after a tenant moves out works best when you follow a clear sequence. Confirm possession, document the condition, handle belongings appropriately, arrange removal, inspect the cleared space, complete repairs, and perform the final cleaning.
The goal is a property that has been carefully evaluated and prepared for its next occupant. Clearing furniture and wiping visible surfaces are only part of that work. Odors, leaks, appliance problems, neglected storage areas, and unresolved repairs all need attention before the turnover is complete.
A consistent checklist and clear contractor instructions make the process easier to manage. Whether you do the work yourself or coordinate several professionals, careful planning helps protect the property, support accurate records, and create a more dependable handover.
FAQ
1. What Should You Do First After A Tenant Moves Out?
Confirm that possession has lawfully returned to you, then inspect and photograph the property before changing its condition. Gather move-in records and create a work list. Identify belongings requiring separate handling before scheduling removal.
2. Can You Throw Away Everything A Tenant Leaves Behind?
Do not assume that you can. Personal belongings may be subject to notice, storage, and retrieval procedures. Check applicable rules, document the items, and authorize disposal only when the necessary conditions have been met.
3. What Is The Difference Between A Cleanout And Deep Cleaning?
A cleanout primarily removes approved belongings, furniture, and waste. Deep cleaning addresses dirt and residue on surfaces, fixtures, floors, and appliances. Many turnovers require both, along with repairs or specialist work.
4. How Long Does A Rental Property Cleanout Take?
The schedule depends on volume, access, sorting requirements, available labor, and disposal arrangements. A lightly furnished unit differs substantially from a property with extensive contents or contamination. Obtain a schedule based on the actual condition rather than assuming a fixed turnaround.
5. Should You Clean Before Removing Furniture?
Usually, removal should come first so surfaces and hidden areas are accessible. Preliminary cleaning may help reveal repair needs, but save the final cleaning for after removal and messy maintenance work are complete.
6. Can Furniture From The Property Be Donated?
Potentially, once you have authority to dispose of it. Confirm that the items are suitable and that the receiving organization accepts them. Arrange another destination for anything rejected rather than leaving it outside without approval.
7. How Do You Handle A Smell That Remains After Cleaning?
Locate the source and review whether affected materials need further treatment or replacement. Persistent smells may require professional evaluation. Fragrance does not establish that the cause has been corrected.
8. Can Every Cleanout Expense Be Charged To The Tenant?
No. Review each expense under applicable rules and compare the condition with the move-in baseline. Keep ordinary upkeep and upgrades separate from potentially chargeable work, and support any lawful deductions with appropriate records.
9. When Is Professional Help Worth Considering?
Consider help for large volumes, heavy items, difficult access, detailed cleaning, or work requiring specialized expertise. Choose providers based on the task; ordinary removal services may not handle repairs, mold, hazardous waste, or other specialized conditions.
10. How Do You Know The Property Is Ready For Another Tenant?
Complete a final walkthrough after surfaces have dried. Confirm that approved contents and waste are removed, cleaning and repairs are finished, equipment has been checked appropriately, and outstanding issues are resolved. Save the final condition records for the next move-in.
Need A Rental Property Cleared Fast? Here’s Why Bay Area Property Pros Choose Junked: Powered By Veterans™
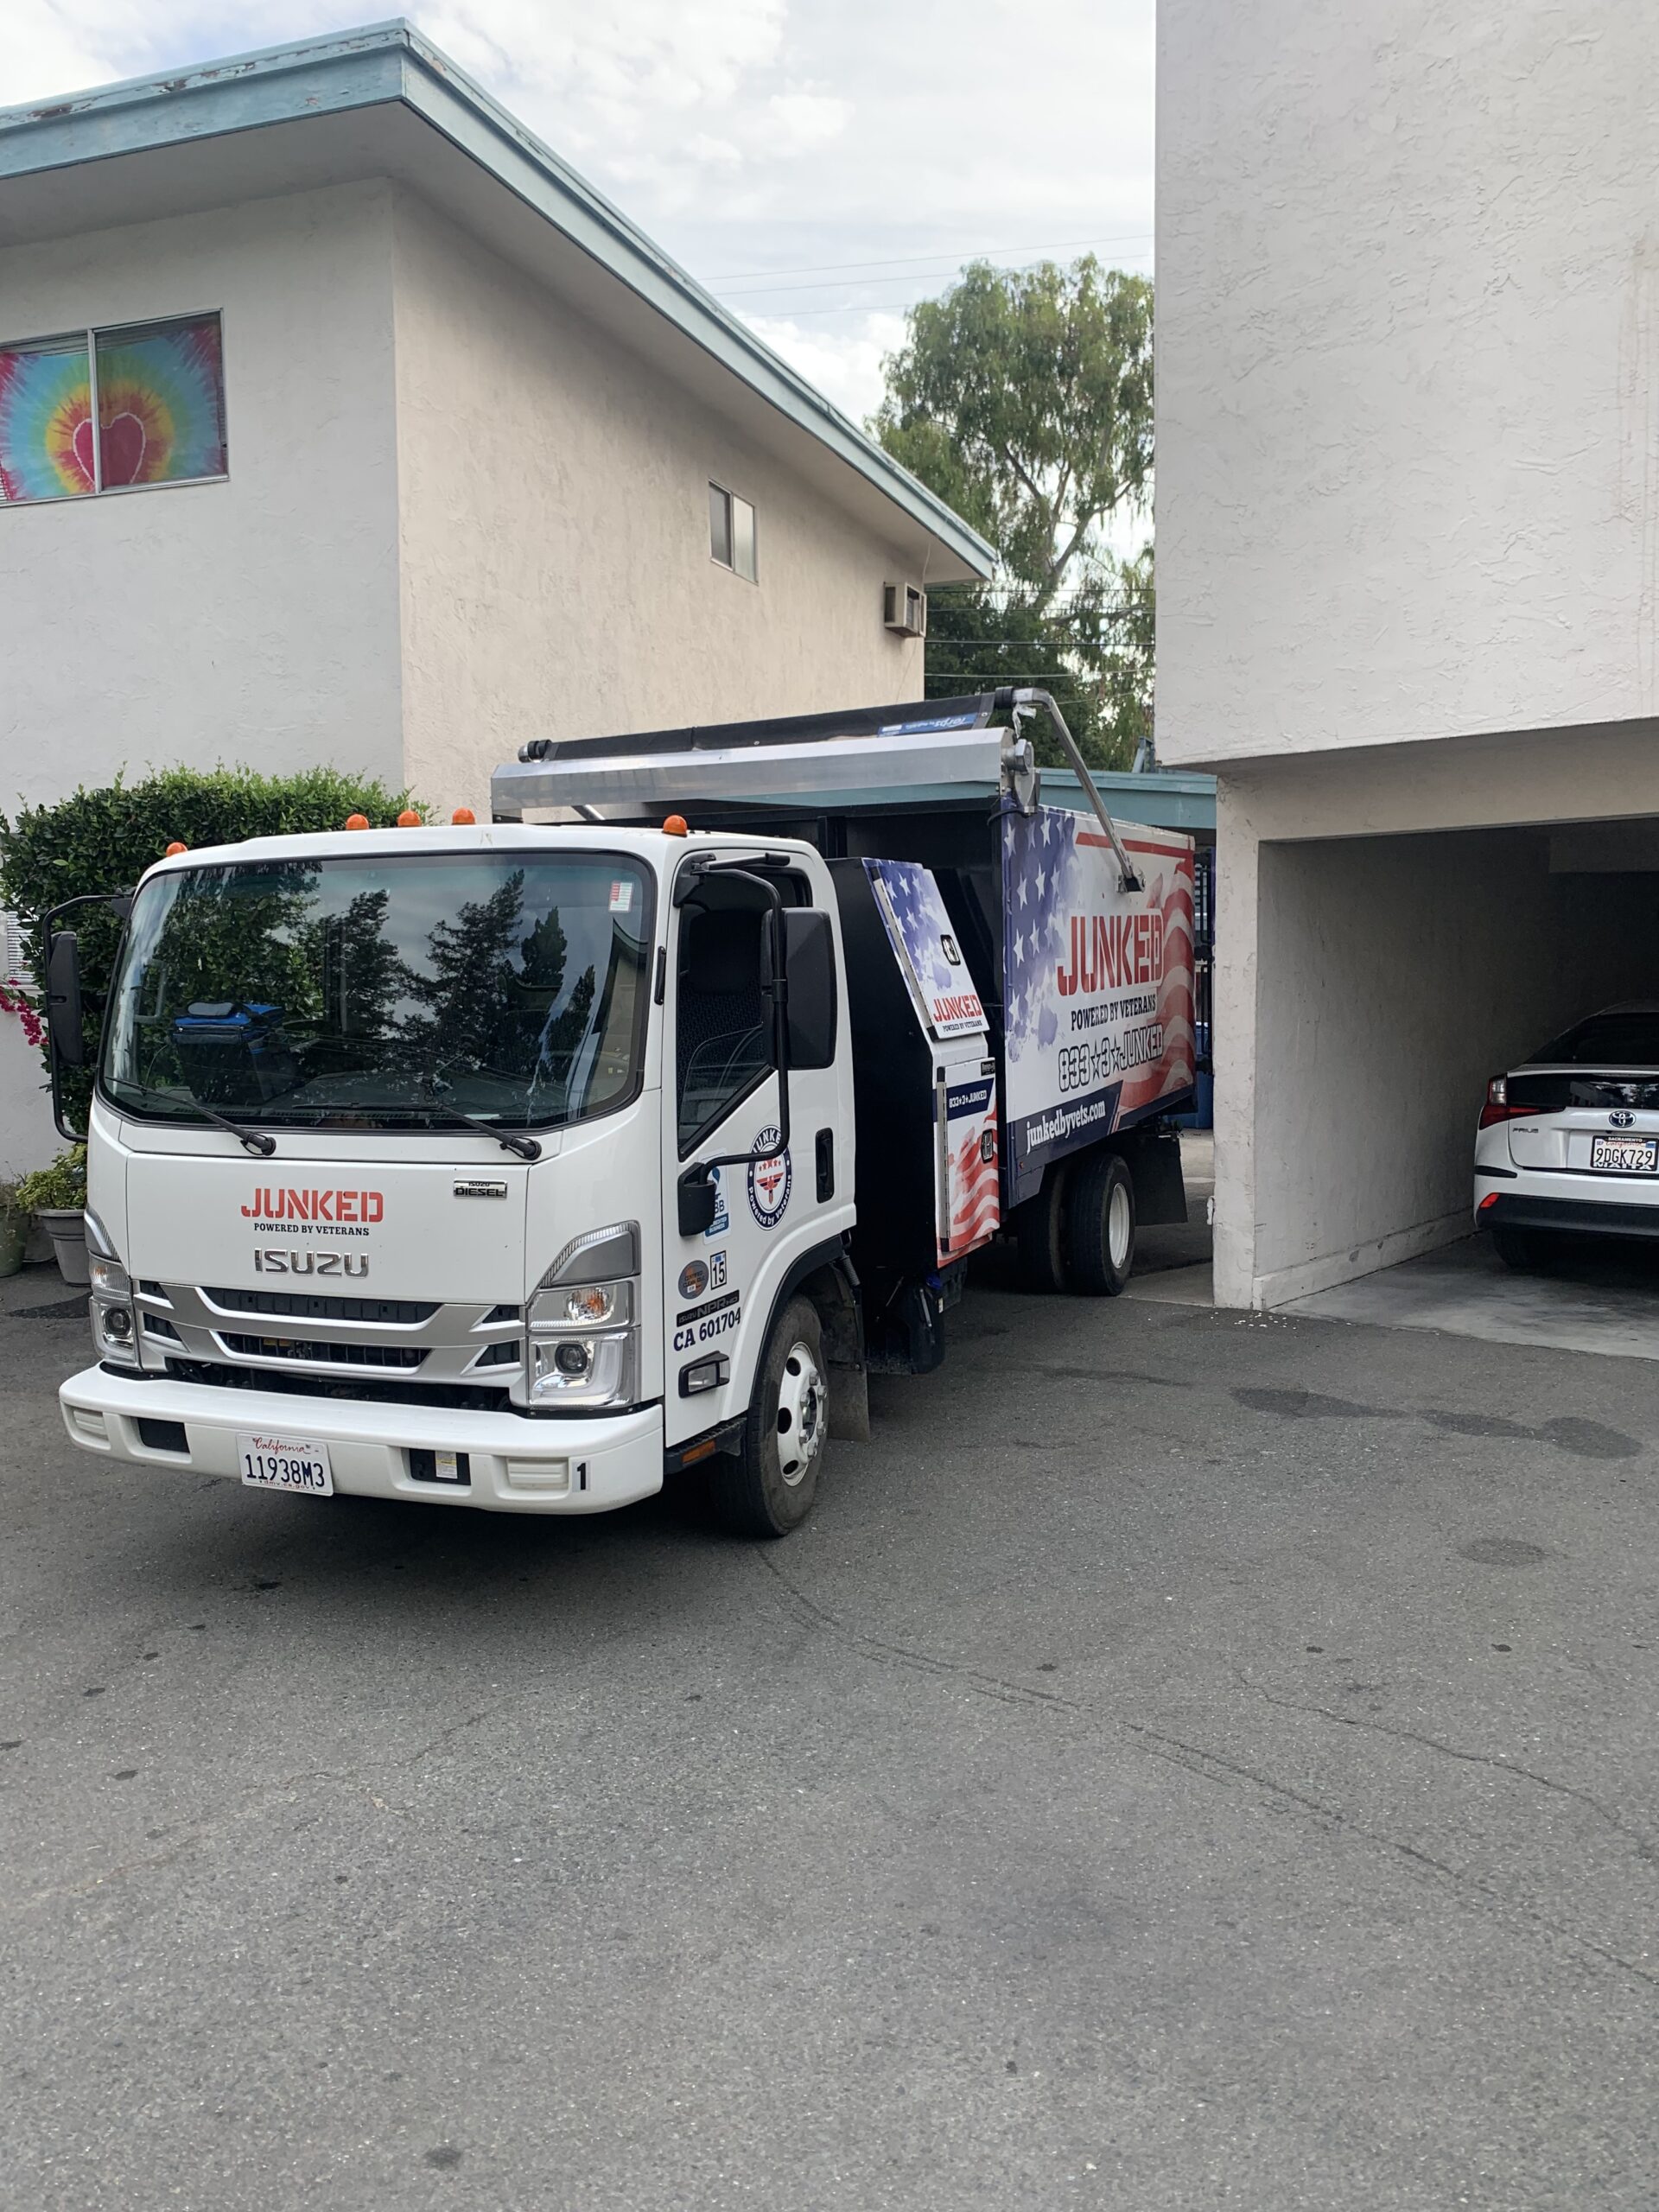
Rental property and tenant turnover cleanouts can quickly become a challenge, especially when former tenants leave behind furniture, appliances, trash, or other unwanted items. At Junked: Powered by Veterans™, we help Bay Area landlords, property managers, real estate professionals, and property owners clear out rentals quickly and get them ready for the next tenant.
Whether you’re dealing with an apartment move-out, preparing a rental home for new occupants, clearing an abandoned unit, or getting a property ready for repairs and renovations, our veteran-led team handles the heavy lifting from start to finish. We remove unwanted items efficiently, prioritize responsible disposal whenever possible, and help you move forward with less downtime between tenants.
If you need a rental property or tenant turnover cleanout in the Bay Area, schedule your free, no-obligation estimate and see why so many property professionals trust Junked: Powered by Veterans™ for reliable, efficient, and stress-free service.
Disclaimer
The materials available on this website are for informational and entertainment purposes only and not to provide legal or professional advice. You should contact your attorney or home improvement specialist for advice concerning any particular issue or problem. You should not act or refrain from acting based on any content included in this site without seeking legal or other professional advice. The information presented on this website may not reflect the most current home improvement developments. No action should be taken based on the information on this website. We disclaim all liability concerning actions taken or not taken based on any or all of the contents of this site to the fullest extent permitted by law.