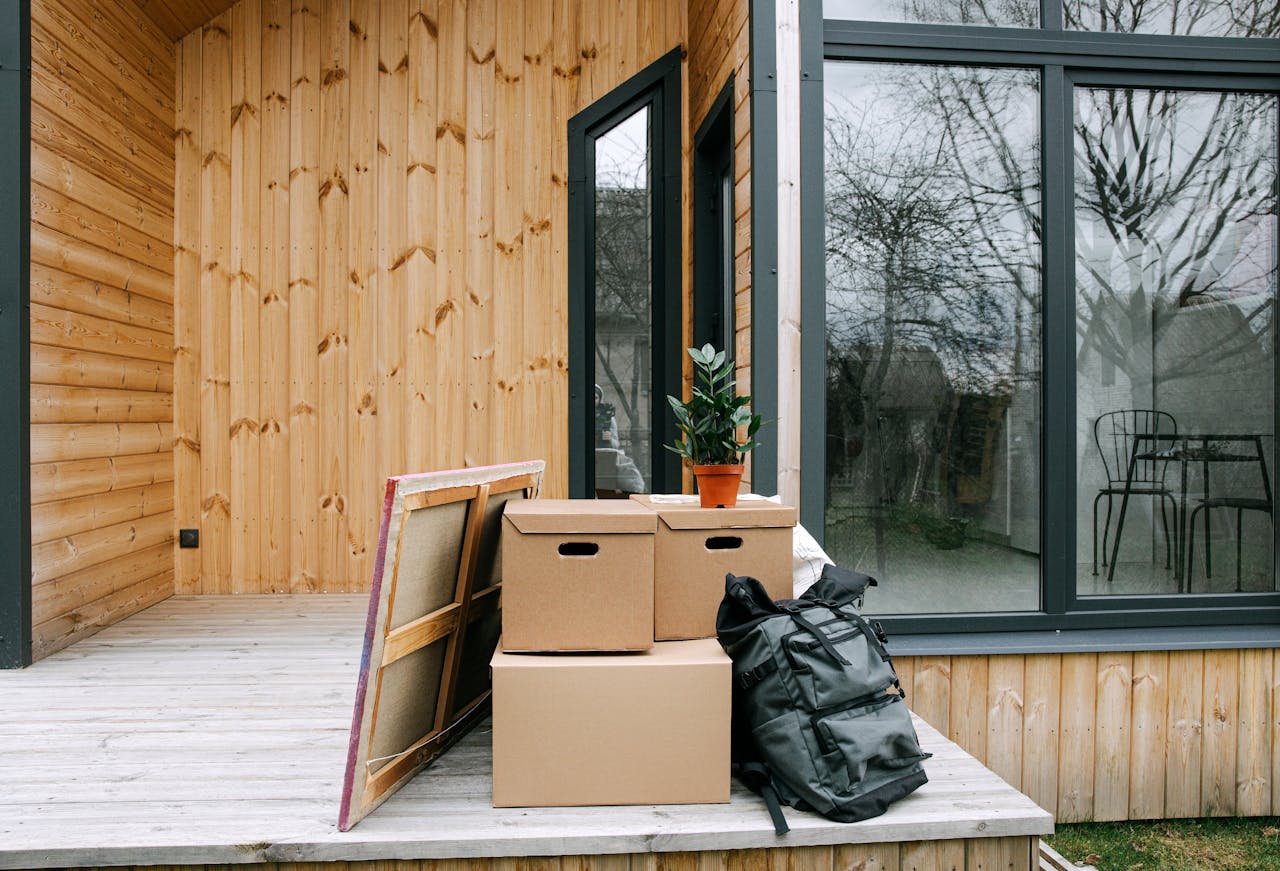
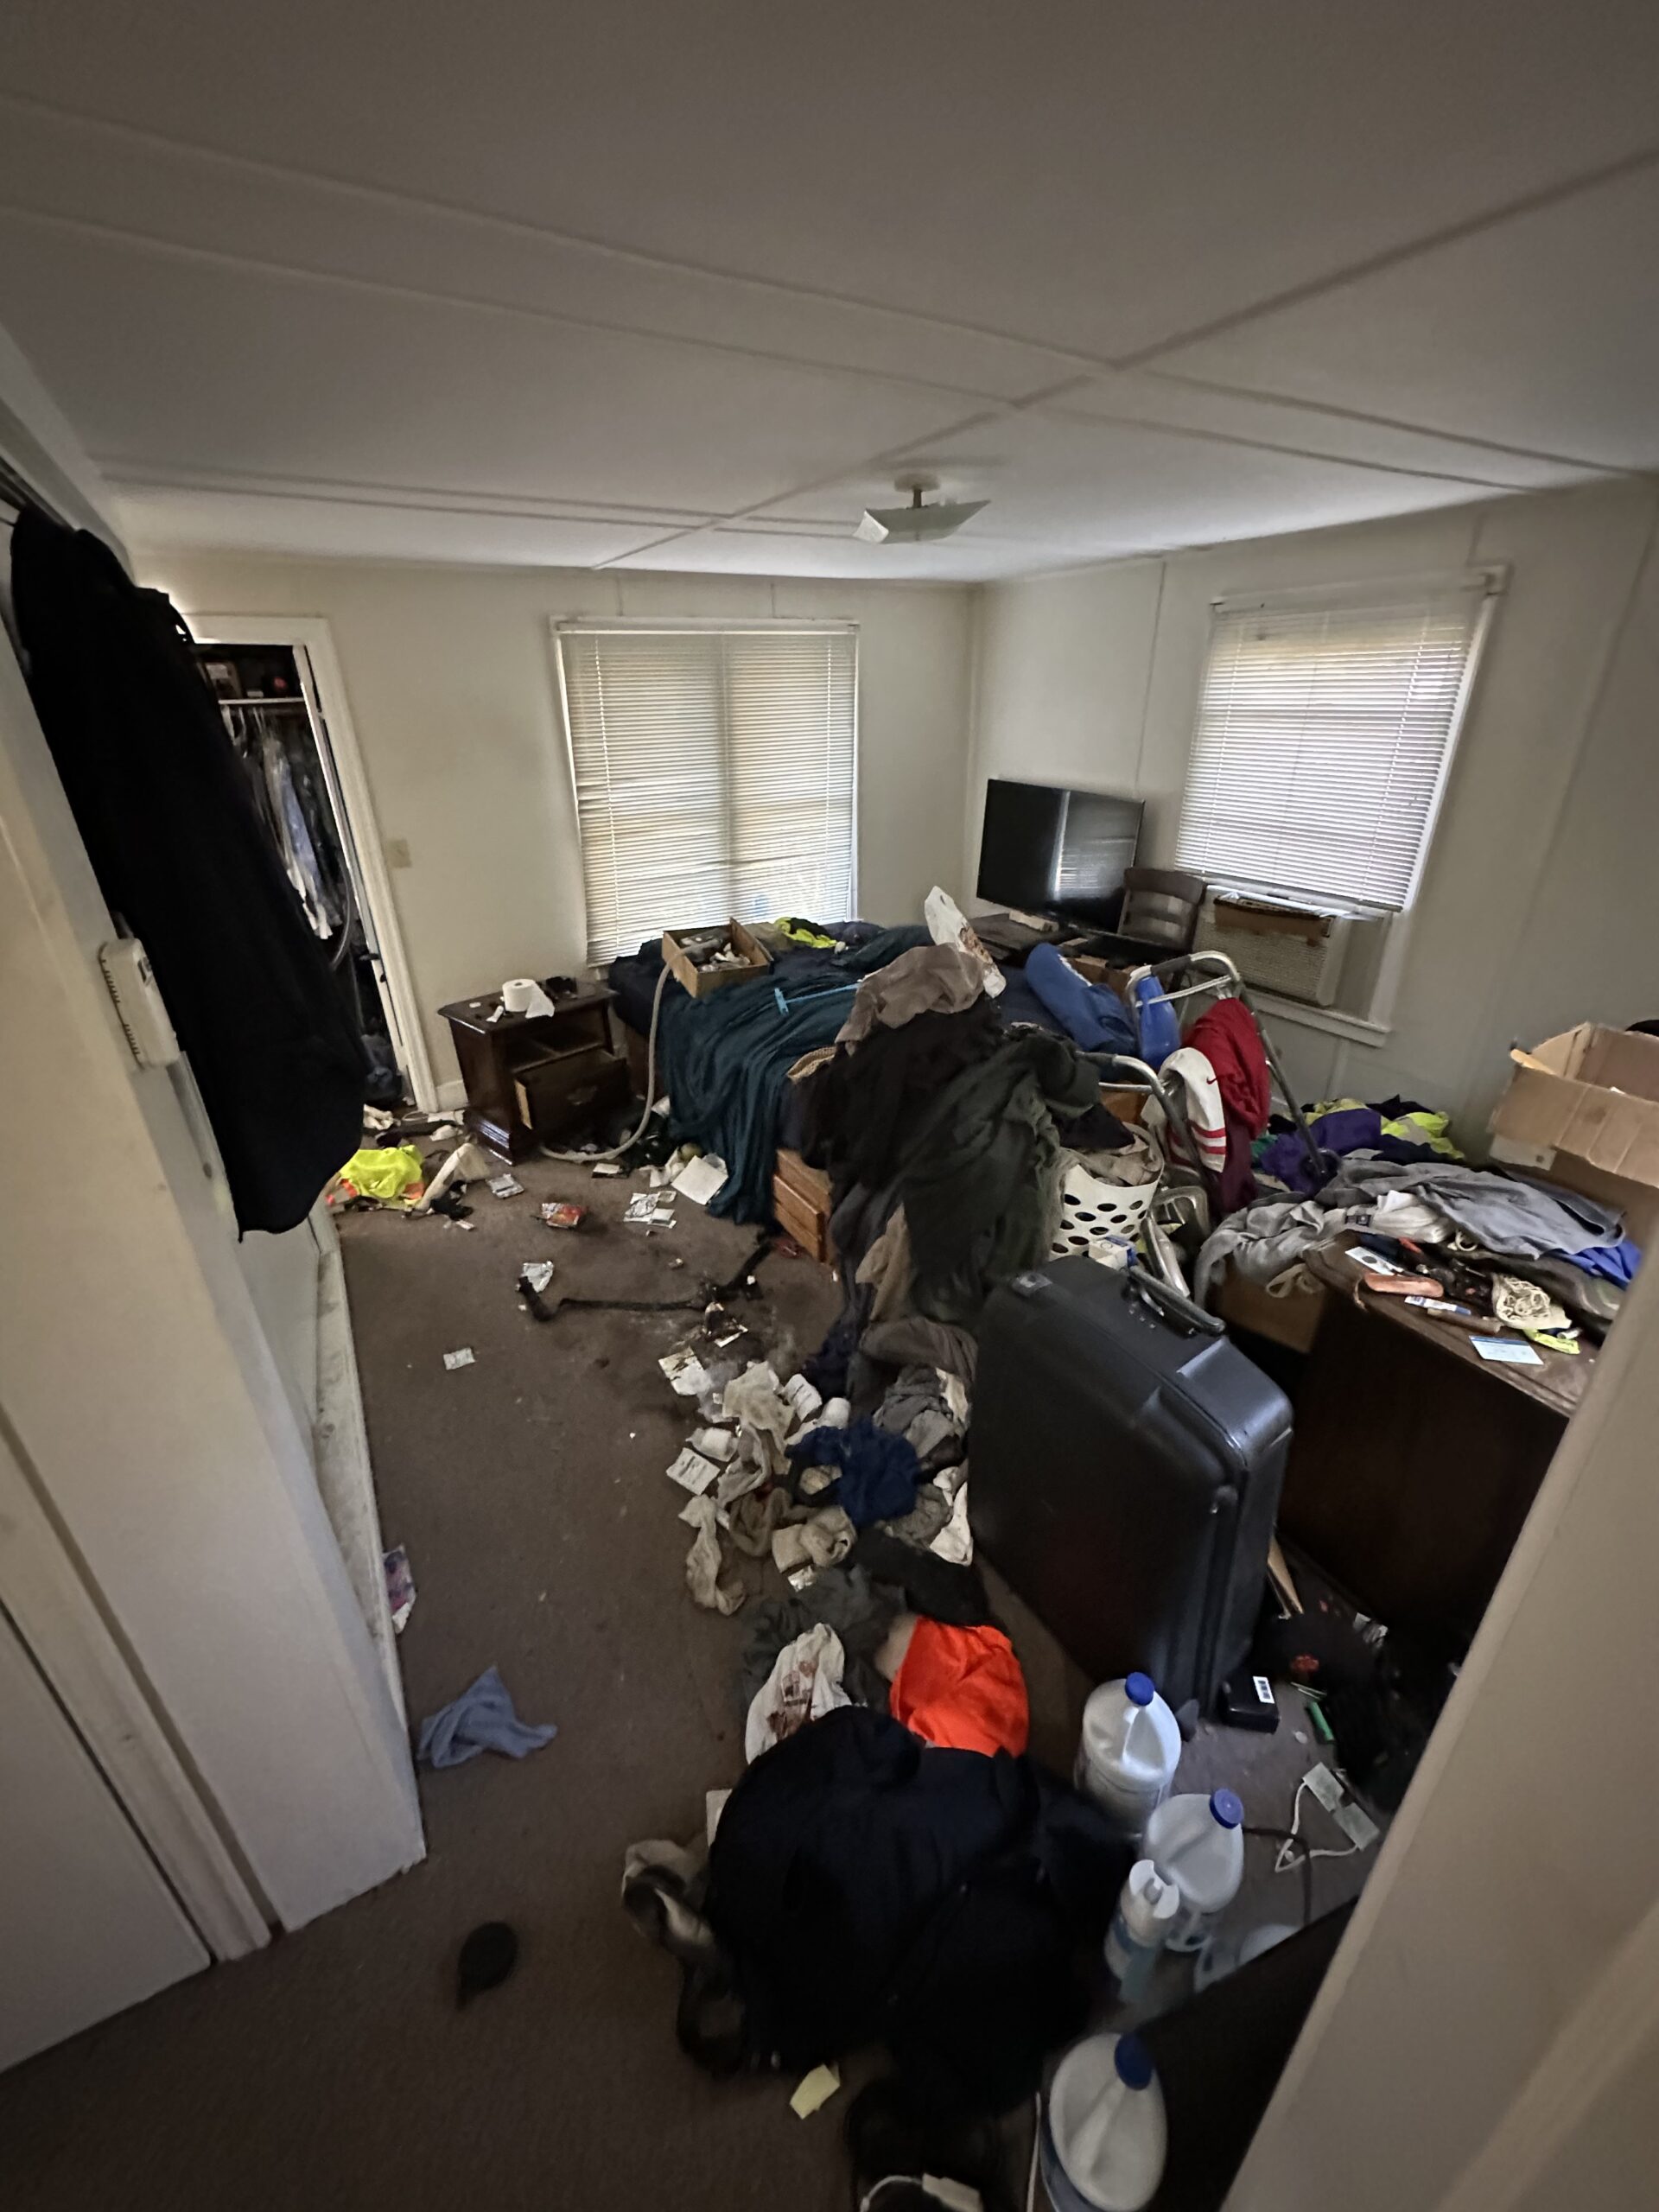
Preparing your property for interior demolition involves clearing rooms, protecting surfaces, and checking for hazards before any work begins. Planning carefully prevents damage and makes the job site safe for all. Relocating furniture and loose items is an important initial step, and covering floors and sealing vents prevents dust and debris from spreading. Checking for pipes and wiring in walls is crucial, because overlooking these can result in expensive errors. Informing neighbors and securing permits is involved in the procedure in many areas. This demolition preparation guide de-mystifies every step of the process, so you can begin your teardown with less stress and more success.
Table of Contents
ToggleKey Takeaways
- Demolition Demystified – Clearly establish the demolition scope and areas for demolition.
- Perform structural inspections and hazardous material testing for things such as asbestos or lead paint to ensure safety and compliance.
- Obtain all required permits in advance and display them prominently to confirm your legal status and provide openness to neighbors and officials.
- Secure all utilities and create proper containment zones to safeguard workers and neighboring areas from hazards, dust, and debris.
- Demolition waste sorting & management — Separate materials for recycling, salvage, and disposal, contributing to environmental sustainability and efficient cleanup.
- In addition, have your re-build plan in mind before hand working with contractors and your team.
The Pre-Demolition Blueprint
More than a plan, a pre-demolition blueprint is a step-by-step guide illustrating what to anticipate, how to maintain safety throughout the process, and how to contain risks. Thinking ahead in this phase identifies obstacles in advance, guards your investment, and minimizes shocks. These steps below walk you through the preparation.
Define Scope
Begin with the fundamentals. Lay out the precise dimensions and locations of demolition. Exact dimensions prevent errors and maintain the project momentum.
Be sure to verify what walls or partitions are safe to remove. Non-load-bearing walls are safer to destroy, although it is essential to verify their function prior to beginning. Write down everything that could be touched—that includes floors, built in cabinets, old wiring, or bathroom fixtures. Every item you intend to eliminate could potentially alter the functionality of the space. Have a target in mind for what you want to transform, such as clearing out a room or eliminating old stuff. Clear objectives enable you to maintain focus and control expenses.
Assess Structure
Look for cracks, bowing or water stains. Any indication of harm would be seen prior to you ACTUALLY working.
Consult a structural engineer if you’re uncertain of the building’s safety. They provide professional guidance and can identify latent dangers. Sketch or capture the existing floor plan. Good records simplify the post-demolition rebuild or redesign. Consider what impact removing a single wall will have on ceilings, wiring or even the adjacent building. These links are easy to overlook.
Test for Hazards
Old houses might have asbestos in the vinyl tiles, or lead in the paint. Pre-demolition testing protects your crew.
Wear masks and gloves when you take samples. Local regulations typically mandate these tests and fines can be hefty if you skip them. Arrange the disposal of any hazardous waste. Contract to licensed companies for safe removal and disposal.
Plan for Salvage
Face the floor, walls and ceiling, spotting any wood, metal or fixtures that could be re-used.
Make a donation/sale pile. Keep them out of work areas to prevent harm. Call recycle centers early and find out what they will accept.
Secure Permits
Consult local regulations for required permits. Prepare weeks in advance, it takes time to get approved. Always post permits where they’re visible.
Milestone | Week 1 | Week 2 | Week 3 | Week 4 |
Define Scope | ✔ | |||
Assess Structure | ✔ | ✔ | ||
Test for Hazards | ✔ | ✔ | ||
Plan for Salvage | ✔ | |||
Secure Permits | ✔ | ✔ | ✔ |
Assembling Your Team
Selecting the correct interior demolition team is fundamental to your project plan. These skills, safety, and budget requirements influence who you hire and how you do the work.
DIY Reality
Not all wrecking work is DIY worthy. Before you begin, ruminate on your abilities and previous work experience. Minor undertakings, such as removing cabinets or tiles, might require just hand tools and simple protection equipment. Even then, expect the unexpected—concealed pipes, wiring, or even toxic material like lead paint.
Demolition almost always bites off more than you think it will. What appears to be a weekend job can balloon into a week-long project. You need crowbars, dust masks, and heavy gloves. A basic checklist can keep you grounded—step out steps, safety checks and clean-up. Always budget for over-runs, in the region of 10–20% of your base spend.
Professional Vetting
A contractor provides expertise and velocity. Begin with a list of local contractors. Look them up and see what their reviews say online — specifically regarding safety and clean-up. Request references from previous employment and follow up on them. Positive comments from others adds credibility.
Obtain bids from a minimum of three builders. Don’t just look at price—evaluate their scope of work, timeline, and waste management. The contractor must be licensed and fully insured. This shields you in the event of an accident, which can save you thousands down the road. Insurance is a must.
Utility Isolation
As always, separate out utilities prior to demolition. Water, gas and electricity have to be capped at the source. Call your utility companies and verify the shut-off. Some contractors will handle this step but you have to verify.
Hang obvious warning placards in and around the work area. This is crucial for security, particularly if others continue to occupy it. A checklist confirms every utility is securely turned off—a skipped step can maim or worse.
Special Concerns
Some have to do with asbestos or lead paint. These only can be handled by trained teams with the appropriate gear. For those late night crammers, schedule work in off-hours so you don’t cause noise and dust for everyone else. Expect lag—big jobs can take more than a week.
Safeguarding the Site
Inside demolition transforms a space and delivers dangers. Steps are the right of way for keeping the people safe and preserving the property. Dust, debris and hazards travel quickly if there’s no protection. It’s crucial to identify hazards, manage hazardous materials and regulate access to the work site.
Utility Isolation
Protect floors and counters in adjacent rooms with drop cloths or heavy plastic. This prevents dust and sharp chunks from leaking into non-hazardous zones. Take all small items off and furniture to safeguard from chips or stains. Protecting the site: if you have an older home (built prior to 1978), test for lead paint and quarantine impacted rooms. Lead dust is a real danger and requires special attention.
If the wrecking zone adjoins open public areas or shared building spaces, erect temporary fencing. This keeps the riff-raff off and denotes protected work boundaries. Ensure that all routes for workers and equipment are broad, unobstructed and devoid of trip hazards. Shift loose cords, affix rugs, and deploy signs where necessary.
Containment Zones
Older homes conceal pipes, wires or even gas lines in walls and ceilings. Don’t pull down any walls without sweeping first with a stud finder–or the like! Mark every location with concealed plumbing or wiring, so workers are aware where to be careful. Sometimes, you discover unexpected—ancient ducts and strange junction boxes and abandoned cables. Be prepared to switch gears if you encounter a surprise.
Property Protection
Assume some walls or beams are load-bearing, no matter how plain they appear. Prior to any chases, verify plans or consult a trained eye on the job. If you come across a major support or any strange framing, change course immediately. When in doubt, make sure you have a structural engineer or local pro look. Safety first.
Key Safety Steps
Check for hazards first. Obtain all permits. Shut off water, gas, and electricity. Dispose of toxic waste properly.
The Unseen Dangers
Interior demolition can seem relatively straightforward on the surface, but underlying it are perils that demand genuine preparation and caution. The environmental hazards and structural unknowns, plus the challenge to protect people and community make it essential to understand what you’re facing before gutting walls or ripping out fixtures.
Hidden Materials
Older buildings may conceal hazardous materials such as lead paint and asbestos. Neither are necessarily obvious. Lead paint, lurking in countless buildings constructed prior to the 1980s, has been shown to be toxic in even the smallest dust particles. Asbestos, which was used for insulation until the 1970s, is an actual peril if it’s disturbed and can only be addressed safely with specialized tools and trained workers.
Waste segregation is more than piling debris together. Sort debris by type—wood, metal, plastic, toxic waste—so recycling and disposal are quicker. Designate labeled bins or containers for each kind, and ensure that every member of your crew is familiar with the procedure. It makes the worksite safer and reduces landfill.
Structural Surprises
Even if you have planned perfectly, you’ll still encounter surprises. Unforeseen harm—ancient water seepage, fragile beams or eroding supports—bubbles to the surface exclusively when walls are torn down. Plan for debris removal early. Locate local waste centers and rent dumpsters that can accept construction scraps or toxic waste. Schedule pickups, so rubbish doesn’t accumulate and bog down the work. The right plan keeps the project flowing.
Noise is a second thing people forget. Demolition work is noisy. It can irritate neighbors. If you can, make your loud work during times when fewer people are around.
Environmental Risks
Demolition generates a fine layer of dust and allergens that extend well past the room being renovated. Utilize plastic sheeting and negative air machines to contain dust. Ensure employees wear masks and protective garments.
Plan your next move. Consult with contractors and modify your renovation plans according to what you discover during demolition. Bring the entire team up to speed so that no one is caught off guard.
Community Impact
Dust and noise and debris are not just YOUR problem– neighbors too. Alert your local neighbors to your itinerary.
Respect local waste and noise regulations. Always consult your local council.
Do your best to keep your area impact low—waste and dust best practice.
Maintain calm by providing updates if the work will take longer.
Managing Demolition Debris
Strategic debris handling is crucial to any interior demolition work. It guards health, supports the environment and maintains your site. Doing waste right means you comply with local regulations, reduce hazards and eliminate bottlenecks.
Waste Sorting
Start by separating debris. Sort out materials such as wood, metal, glass and drywall. If you discover paper, cloth, or other absorbent materials damp for more than 48 hours, these generally must be discarded to prevent mold from growing. For instance, wet carpet or insulation can harbor mold and must be pulled out if it cannot be dried quickly.
Old buildings might contain hazardous materials. If your home was constructed prior to 1975, watch out for asbestos-containing tiles, insulation or wallboard–these require special disposal and cannot be included with regular debris. Pre-1978 homes might have lead-based paint — during demo, be careful not to dust or disperse chips — lead is a serious health hazard. Sort out these dangerous goods and collaborate with accredited experts if necessary.
Disposal Logistics
Organize waste disposal in advance. All debris, even from non-toxic buildings, should be transported to an approved landfill or disposal site. Certain areas permit burning of clean debris (no asbestos, PCBs or lead), but piles must be 305 metres away from homes and roads, separated by the same distance and less than 14 metres wide. If you must store cans of drained fluids, store them on hard surfaces such as concrete and store no longer than 90 days to avoid leaks into soil or water.
Wet materials that aren’t dried and clean within 48 hours should be discarded immediately. This prevents mold and sickness for both workers and eventual tenants. Each stage protects both humans and the environment.
Transitioning to Reconstruction
Knowing when to transition to reconstruction is an important phase in any property project. Thoughtful preparation and solid organization make the experience slick and prevent the experience from stalling. When the tear down is over, the floor has to be swept. That is to say, to take out the trash and separate the cans from the rubble. Good waste management is not just about keeping the site safe, it’s about reducing the environmental damage. In some areas, there are rigid regulations about the disposal of construction debris, so be certain that your strategy complies with local requirements.
Prior to initiating any new construction, it is essential to obtain all required permits. Local rules vary, but in pretty much every instance, you have to obtain permits from municipal or regional authorities prior to erect the new construction. This ranges from checks on the new build plans to safety and energy codes. Active collaboration with local officials can prevent expensive delays or modifications down the line. Pros that code local can save you time and stress, particularly if your project has complicated requirements.
Think about cost and time as you transition to reconstruction. It’s wise to have a contingency fund—budget for a minimum 10–20% over your core budget. That assists with unforeseen expenses such as design modifications, hold ups, or additional resources. Projects that are tear downs and rebuilds were typically eight to twelve months, but this shifts depending on site conditions, weather, and contractor schedules.
Reconstruction begins by framing the new home. This stage includes constructing the walls, floors and roof, providing the home with its initial form. Each phase requires quality and safety audits. When your rebuild is winding down, a walkthrough is essential. This last inspection aids in identifying any repairs or cleaning required before the area can be utilized once more. Both clear records and good oversight at this stage help ensure the work satisfies both your desires and all legal regulations.
Conclusion
To begin your interior demolition, first clear the space and all loose items. Trust your crew, use the appropriate equipment and monitor safety vigilantly as the work commences. Keep your eye out for those deceptively lurking old pipes, wires and other hidden dangers behind walls. Manage dust and debris with clever strategies and transparent containers. When you’re done, swipe the site quick and you’re ready to begin the next stage with no delays. Genuine teamwork, serious prep, and safety rules respect paved the way for easy-going work. Every measure matters for a tidy and secure construction. For additional tips, guides, and real-life field stories, visit my blog. Share your own victories or inquiries—let’s educate and cultivate collectively.
Frequently Asked Questions
1. What should I do before starting interior demolition?
Take personal belongings and furniture out. Obtain permits. Turn off water, gas and electricity. Have professionals consult you for any structural or hazardous material concerns.
2. Who needs to be involved in an interior demolition project?
You’ll need a qualified contractor, licensed electricians and plumbers. For your project, you might require an architect or engineer for safety and compliance.
3. How can I protect my property during demolition?
Seal off work areas with plastic. Protect floors and vents. Clear valuables and delicate items from adjacent rooms, just in case they’re affected by dust or vibrations.
4. Are there health risks associated with interior demolition?
Yes. Dust, mold, asbestos and lead paint can all be a health hazard. Wear protective equipment, and collaborate with licensed professionals to safely address hazardous waste.
5. What is the safest way to handle demolition debris?
Separate debris according to material. Contain hazardous waste in appropriate containers. Coordinate with licensed removal services to recycle or safely dispose of everything.
6. How do I keep the demolition site secure?
Restrict access to it to authorized personnel. Put up caution signs and safety barricades. Secure tools and supplies outside of working hours to avoid injury or theft.
7. When can reconstruction begin after demolition?
Rebuilding can begin after the site is cleared and inspected and approved. Clear out debris and fix structural problems before you begin any new work.
Take Back Your Space: Veteran-Powered Demolition Services for a Fresh Start
Is your property weighed down by old structures, unsafe additions, or features that no longer serve your needs? At Junked: Powered by Veterans™, we specialize in safe, efficient, and thorough demolition for homeowners, property managers, contractors, and business owners across the Bay Area. Whether you’re removing a shed, tearing down an interior wall, or clearing an entire structure for renovation or rebuild, our veteran-led team brings precision, integrity, and care to every demolition project.
Why Choose Junked: Powered by Veterans™ for Your Demolition Needs?
✔ Residential, Commercial, and Interior Demolition – We handle projects of all sizes with safety and professionalism
✔ Veteran-Led Team – Reliable, disciplined, and committed to getting the job done right
✔ Full Site Preparation & Cleanup – We remove debris and leave your property ready for the next phase
✔ Eco-Conscious Disposal – We recycle materials and reduce landfill waste whenever possible
✔ Stress-Free Process – We show up on time, work efficiently, and respect your property and timeline
Whether you’re renovating, repurposing, or starting fresh, Junked: Powered by Veterans™ is here to clear the way—safely, cleanly, and with purpose.
Contact us today for a free, no-obligation estimate and see how our veteran-powered demolition team makes taking down the old the first step toward building something better.
Disclaimer
The materials available on this website are for informational and entertainment purposes only and not to provide legal or professional advice. You should contact your attorney or home improvement specialist for advice concerning any particular issue or problem. You should not act or refrain from acting based on any content included in this site without seeking legal or other professional advice. The information presented on this website may not reflect the most current home improvement developments. No action should be taken based on the information on this website. We disclaim all liability concerning actions taken or not taken based on any or all of the contents of this site to the fullest extent permitted by law.